10 Ways to Save on Monthly Bills
/The idea of watching the needle on your electric meter turn backward instead of forward is a wondrous concept for any homeowner.
Unfortunately, the materials needed to make this dream a reality -- solar panels, wind turbines, geothermal heating, a solar-powered water heater, recaptured rain water -- can total in the tens of thousands.
But you don't have to invest your life savings in green technology to save money on your heating and cooling bills. In fact, the first step in making your home more green doesn't cost any money at all. Read on to learn the 11 simple projects that can be done over the course of a weekend to decrease your carbon footprint -- and keep your home from leaking money out the window.
1.Change Your Thinking
One of the biggest impacts you can make on the efficiency of your home and the cost of your utilities is to be more conscious about the amount of energy your home consumes. Basically, if it's not in use, turn it off.
Take a stroll through your house and take notice of the simple things that are costing you money. Turn off lights that are not in use; repair leaky faucets; turn up the fridge and the freezer; lower the temperature of your water heater; adjust your thermostat. These simple actions -- and the heightened awareness behind them -- are the first steps in making your home a well-tuned machine of energy efficiency.
Other eco-conscious tips for the future include upgrading to energy-efficient appliances and low-flow shower heads, taking shorter showers, air-drying your clothes and running the dishwasher and washing machine with full capacities.
You don't necessarily have to do with less to make a difference in your home's efficiency. You just need to be conscious and take action on the changes that can be made.
2. Audit Your Home
Many utility companies and climate-control specialists offer blower-door tests for pinpointing air leaks in your home. While these tests can cost upwards of $300, a little assistance from Mother Nature can also work in determining unwanted leaks. On the next windy day, burn a stick of incense or light a candle and carry it through your house looking for air movement. Take note of the questionable areas and move in closer to pinpoint the exact culprits. Mark the areas with a Post-It note or painter's tape for reference in step two.
While every home is unique, there are a few areas where infiltration shows up repeatedly in such tests: check the seam between the top of the foundation wall and the wood framing that runs around doors and windows; also check along baseboards, electrical outlets and switches mounted on exterior walls; and around fireplaces, laundry vents, attic hatchway doors and pull-down stairways, attic fans and pipe and wire chases.
The next step is to seal these leaks with caulk or insulating foam. A few minutes spent pinpointing and eliminating air leaks is an essential foundation to maintaining a comfortable and efficient home.
3. Do Windows
Upgrading all of the windows in your home to double-paned casings is a bold step in making your home more energy efficient, albeit a costly one. Adding storm windows, an extra pane of glass or plexi-glass to the exterior can offer almost as much efficiency for a fraction of the investment.
Both methods help to create a heat-trapping buffer that decreases energy loss and maintains interior comfort. As an even cheaper measure, consider applying a light- and heat-controlling film to your windows. 100-foot rolls typically sell for $150, and effectively block up to 60% of the sun's heat and 99% of UV rays.
4. Switch to LEDs
Compact fluorescent (LED) light bulbs use 70% less energy and last six- to 10-times longer than incandescent bulbs. According to a recent Consumer Reports study, by replacing a 60-watt incandescent bulb with a 13-watt compact fluorescent that offers the same amount of light, you could save more than $57 over the life of the LED.
This simple switch can make a dramatic impact in your monthly energy bill. Also, the price of LEDs has greatly decreased in recent years, making your start-up costs more bearable. Start by replacing the bulbs in your kitchen and bathroom -- two of the most-used rooms in your home, which also require lots of light. And don't forget about lamps that may be left on overnight or exterior lights that might escape your attention.
5. Insulate
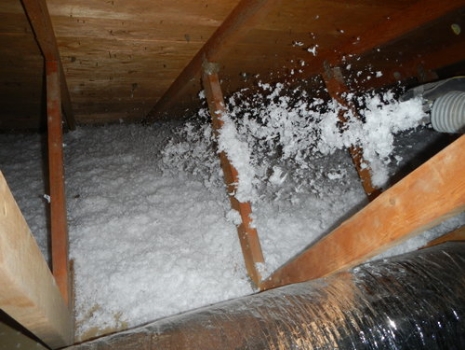
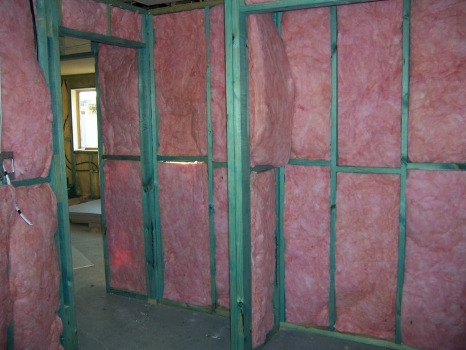
Depending on when it was built, chances are your home is insufficiently insulated. Building codes for home insulation have changed greatly in the last 10 years, even more since the 1920s. Lucky for you, great strides have also been made in insulation technology.
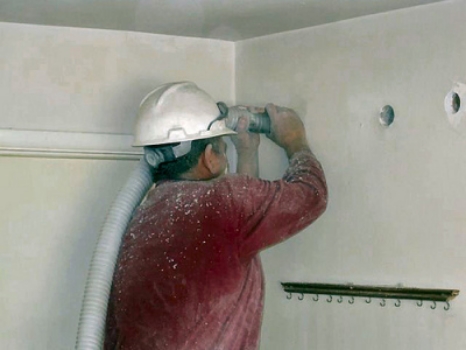
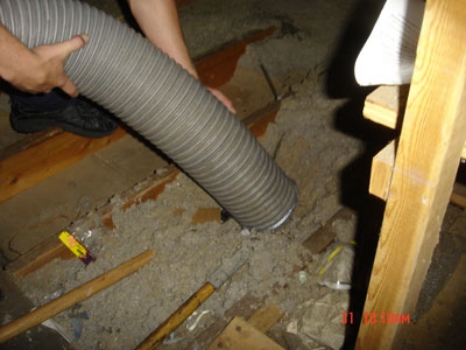
Attic insulation can be added in easy-to-apply rolls or blown-in cellulose insulation made from recycled newspapers. For older home owners (pre-1950), you will probably need to add insulation to your walls as well. For this project, you might want to hire out the job, which requires drilling into each section between studs and blowing in insulation. The project can be time-consuming and tedious, but well worth the investment.
One thing to keep in mind: The better the insulation, the more the savings. Going 10% to 20% beyond the minimum insulation requirements in your area will only help increase your savings in the long run.
6. Replace Your Filters
A dirty air filter can reduce the efficiency of your central heating and cooling system by as much as 20%. Regularly changing or cleaning your air filters will help reduce your carbon footprint and can also help with your allergies or asthma. Either way, you'll certainly sleep better at night from a project that can take as little as five minutes.
7. Install a Programmable Thermostat
Almost half of the energy we use in our homes goes to heating and cooling. The best way to reduce this number is to follow this simple mantra: "68 in winter, 78 in summer." Programmable thermostats can help achieve this goal by not only regulating the temperature while you're at home, but also limiting usage when you are away.
Programmable units range from simple, timer-like devices to elaborate, multi-function units that provide special instructions to your climate control system based on the day of the week and time of day. Once programmed, these thermostats work behind the scenes, saving you money and anticipating climate control needs.
8. Baby Your Water Heater
Aside from lowering the temperature of your water heater, you can significantly help retain heat and decrease the amount of energy needed to heat water by simply wrapping insulation around the unit. Inexpensive insulating blankets are readily available at your local hardware store. Additionally, wrapping the piping that runs from the unit with pre-formed pipe insulation sleeves can lessen heat loss when carrying hot water to your faucets.
If you're ready for a new water heater, consider an upgrade to a tankless system that offers instant, on-demand hot water. Many states also offer rebates for upgrading to a solar-heated water system, the total cost for which runs around $10,000 or so -- an investment that will pay itself off in 10 to 15 years worth of savings.
9.Eliminate Ghost Usage
Even when turned off, electronics such as alarm clocks, microwave ovens, televisions, computers and cell phone chargers are sipping energy. The energy used to keep display clocks and memory chips working accounts for 5% of total domestic energy consumption.
The best way to eliminate this silent cost is to introduce a circuit breaker or power strip that can be completely turned off when electronics are not in use. Simply plug your entertainment center, computer or phone chargers into an inexpensive power strip that can easily stop the power flow with the flick of a switch. This ensures these electronics aren't adding to the ghost usage effect and hiking up your energy bill when they're not being used.
10. Plant a Tree
Shade provided by trees can reduce your air conditioning bill by as much as 10 to 15%. In winter, trees offer a wind break that can translate into a 25% reduction in heating fuel consumption. While it can take many years for a tree to reach full maturity and offer maximum benefits to your home, there are fast-growing varieties that can offer relief in the short term.
Evergreens, willows, magnolias and hybrid poplars can be strategically placed to start offering home-cooling shade in as little as three to five years. While an extra cost, purchasing mature trees can jump-start the process, and offer a return on your investment in dramatically less time. Additionally, crepe myrtles, oleander varieties and bamboo can offer shade over the course of a season.
11. Pull the Blinds
Curtains and blinds offer exceptional insulation properties in winter, and can help reflect the sun's energy in the summer to maintain a desirable temperature in your home. The trick is to take the extra step to make the free energy of the sun work in your favor.
In the summer, keep drapes and curtains closed on the sunny side of the house. In the winter, open those drapes and curtains to take advantage of the sun's heating power. Close all drapes, blinds or shades at night during winter months to make use of their insulating properties.
These 11 simple projects will make your home more energy efficient and save you money on your utility bills -- all with an affordable price tag and a quick turnaround. After all, it is the simple things in life that make people happy.
